Bulk Upload Asset Configurations
Objective: Gain an understanding of how to use the Brightly Assetic Data Exchange module and its templates to upload multiple Asset Configurations.
Outcomes: By following these steps the user will be able to upload Asset Configurations in bulk in the Data Exchange module.
When creating or editing an Asset the Class, Subclass, Type, and Subtype core fields can be populated using Data Exchange or the web interface. However, the values that are available for these fields must first be configured, either manually, or in bulk via Data Exchange.
This article will detail how to use Data Exchange to input these asset configurations.
Step 1: Downloading the Template File
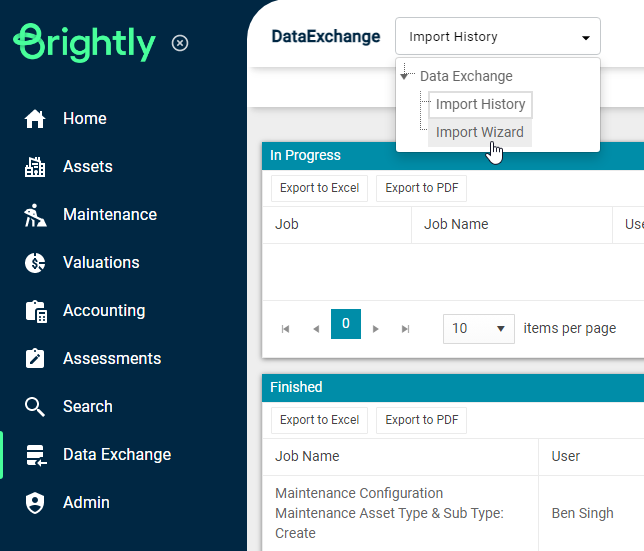
First, the appropriate template file needs to be downloaded. Begin by selecting the 'Data Exchange' module from the navigation sidebar and selecting 'Import Wizard' from the navigation dropdown.
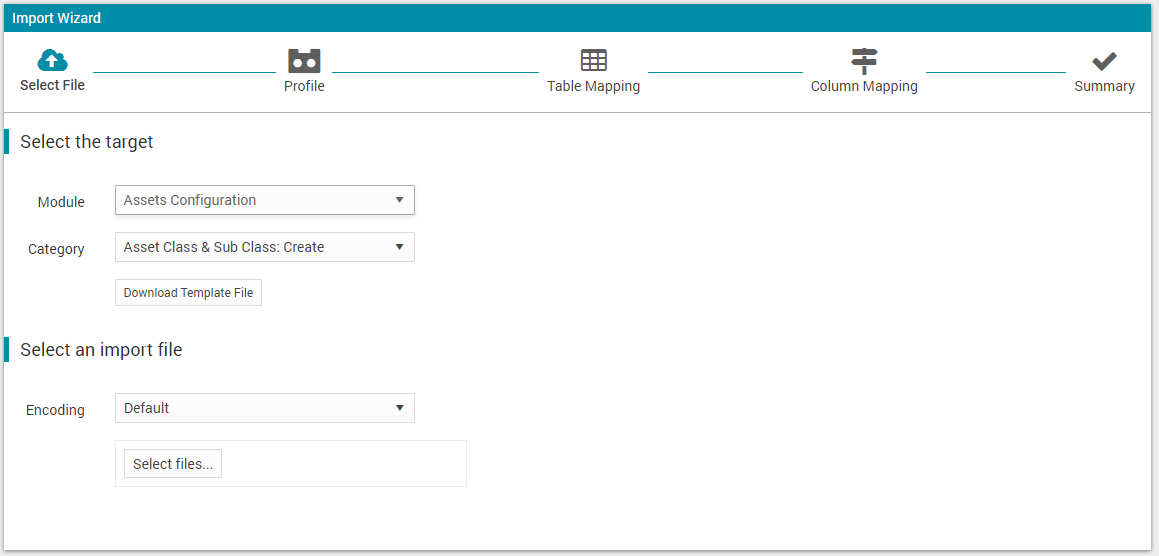
Select the relevant Module and Category from the drop-down menus. In this example, Class and Subclass configuration will be imported so "Asset Class & Subclass: Create" has been selected.
Next, download by selecting the Download Template File button.
Step 2: Configuring the Template
Open the .csv template and populate with the relevant Asset Classes and Subclasses or Types and Subtypes information.
In this example, 2 Asset Classes (Building & Road) and 5 Asset Subclasses are being added.
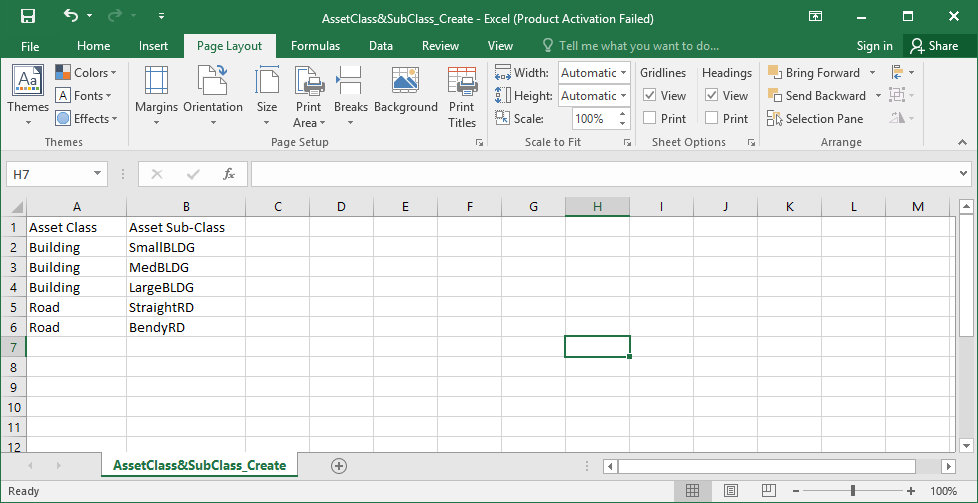
NOTE Remember to populate every row of the template with an Asset Class/Type for every Subclass/Subtype. Otherwise, Brightly Assetic will return an error upon uploading.
Step 3: Uploading the Template
Once the template is populated, save it and return to Data Exchange. Using the 'Select files' button, select the saved template file.
If performed successfully, the Import Wizard will move to the Profile screen.
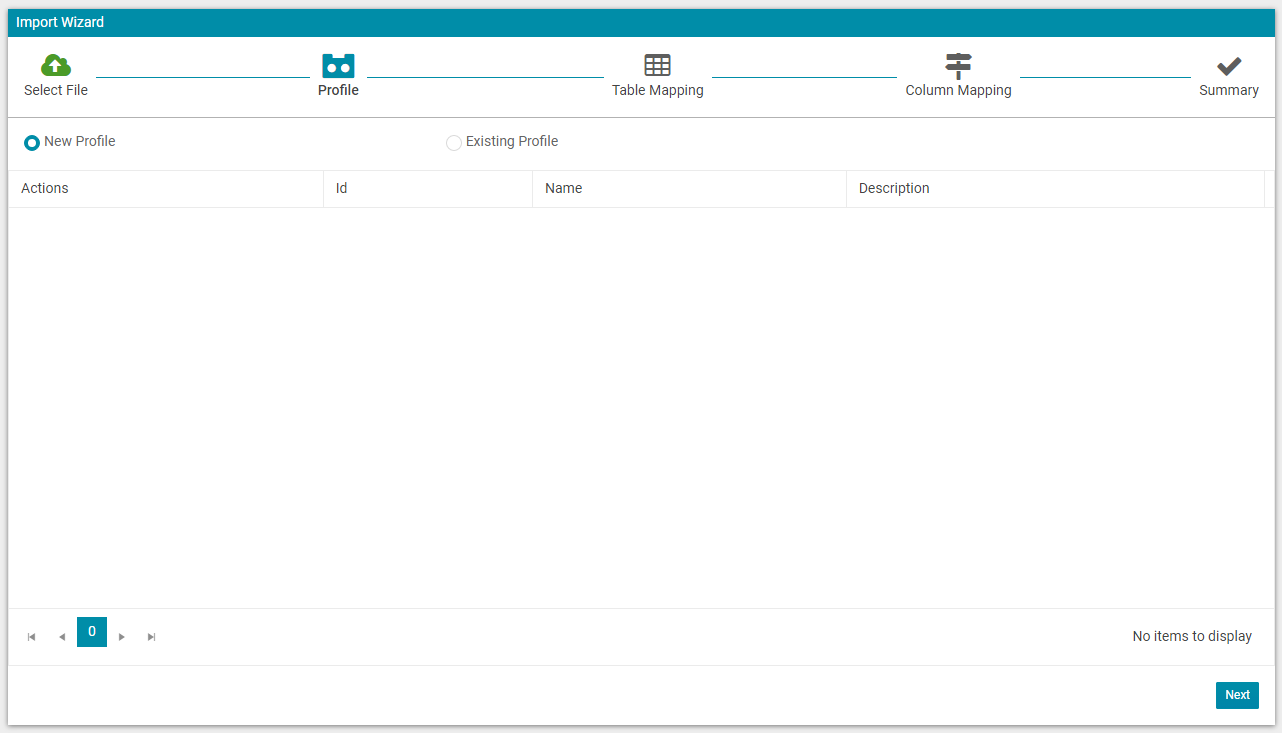
Select either "New Profile" (default selection) to create a new mapping profile or load a Profile that has already been created by selecting "Existing Profile".
Once completed, select the 'Next' button to navigate to the following screen.
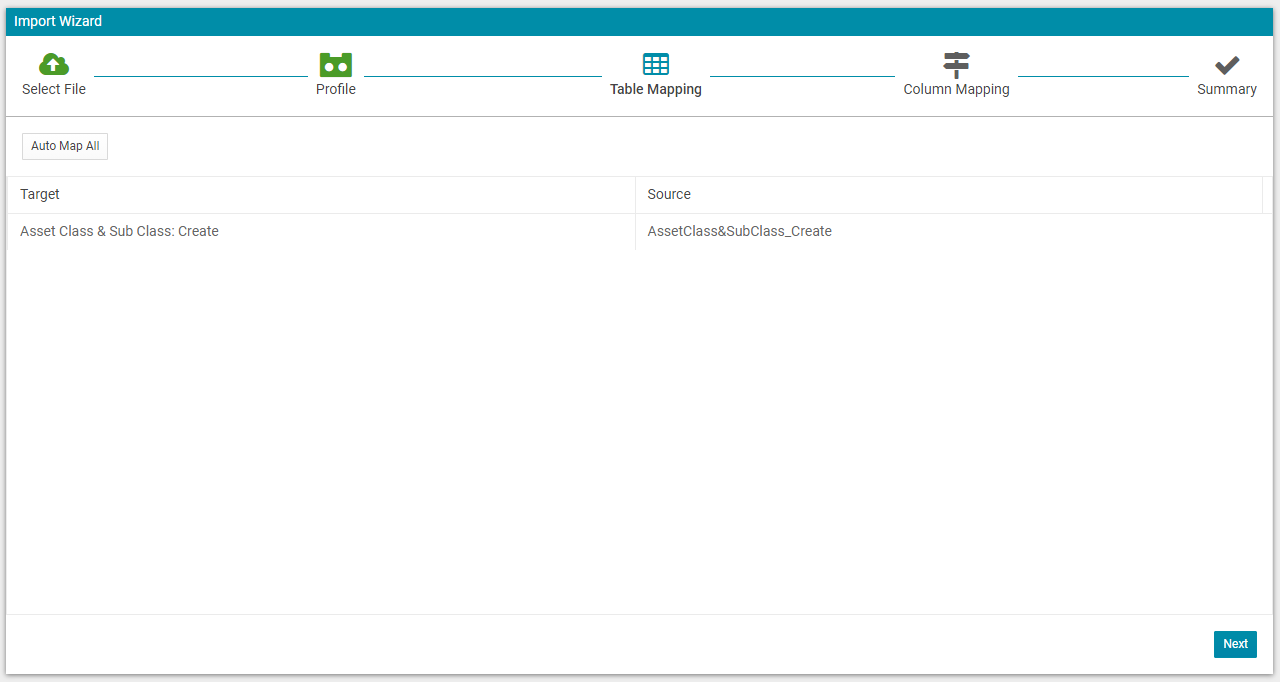
At this stage the uploaded file (source) must be mapped with the target area of the database. Most of the time Assetic will automatically select the target.
When this is completed select "Next" to proceed.
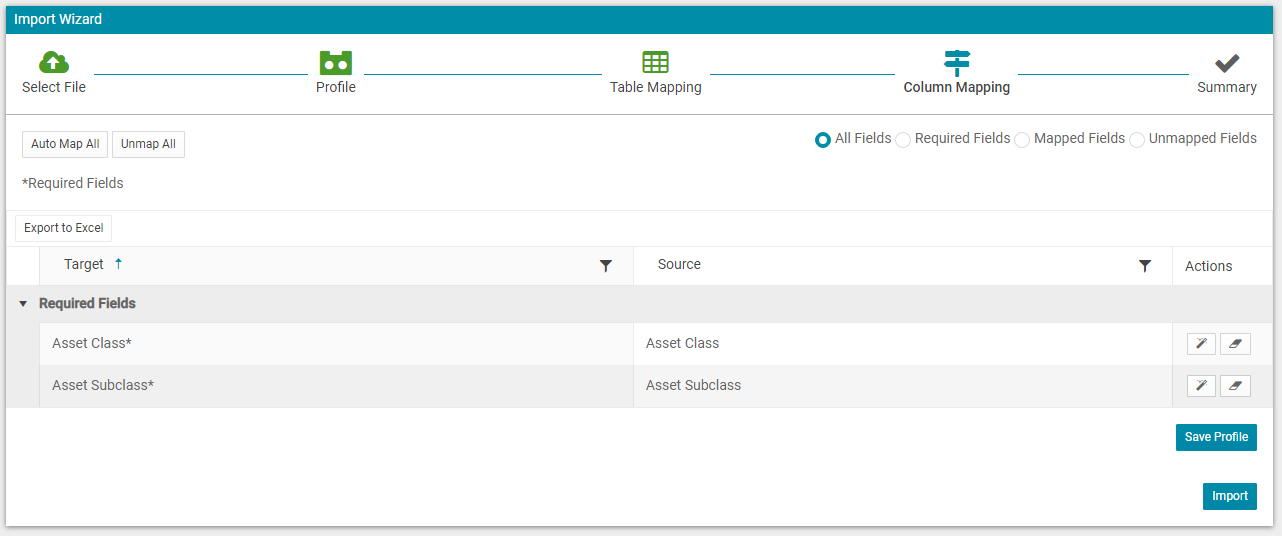
Now the user is required to map the columns within the source file.
Once completed select "Import" and then select "View Status".
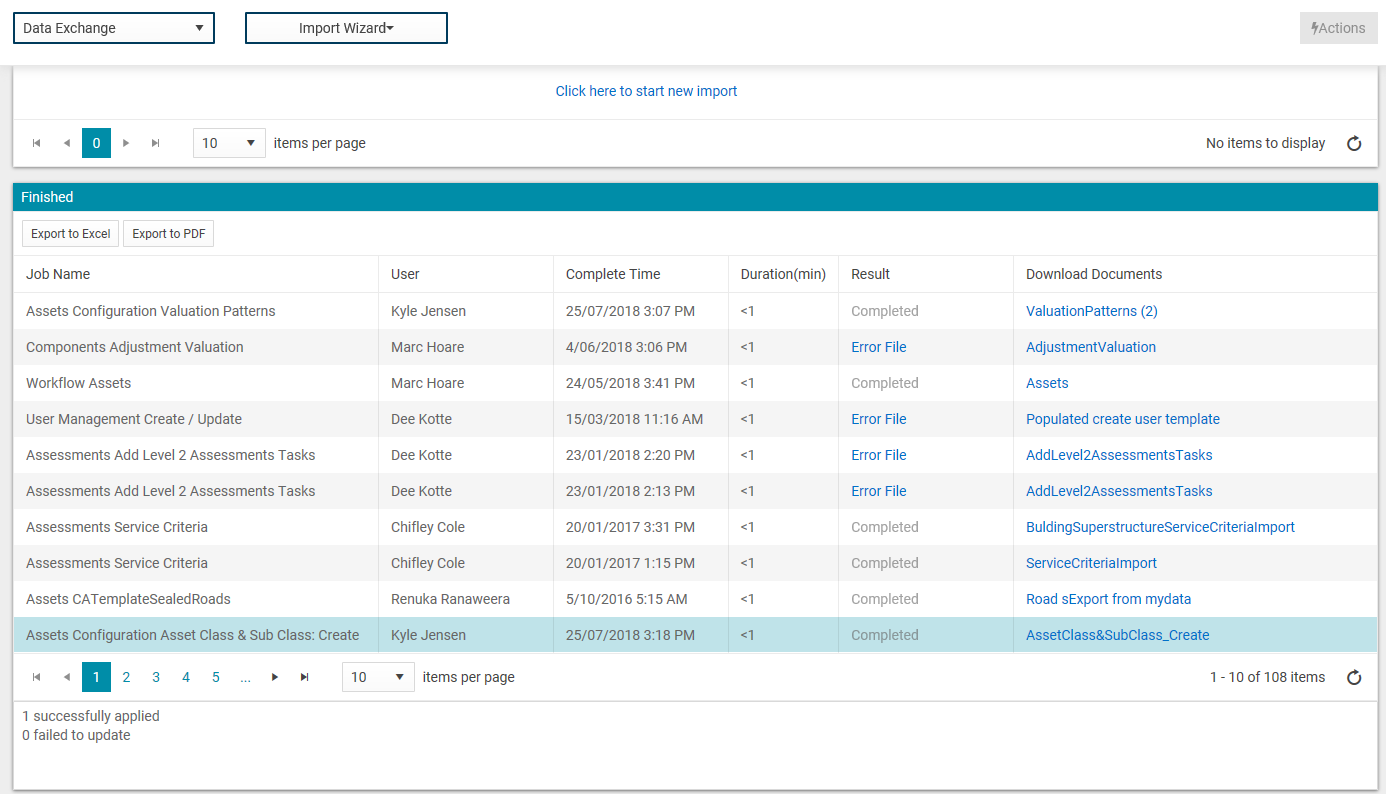
The example upload is highlighted in the above image.
In the 'Result' field the upload status is listed, and the original import file and error file (if applicable) are available from the 'Download Documents' field.
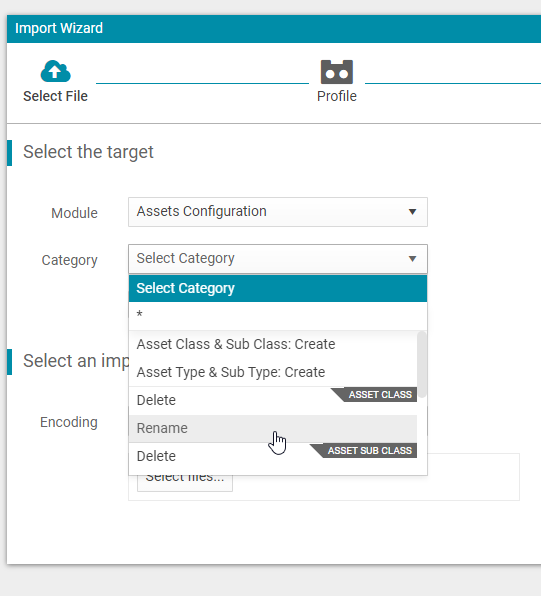
Other Steps: Deleting/Renaming Asset (Sub)Classes and (Sub)Types
Within the 'Assets Configuration' module drop-down box the options to 'Delete' or 'Rename' Asset Classes, Subclasses, Types and Subtypes are available.
Select the appropriate option, download the template and complete the process as previously outlined.